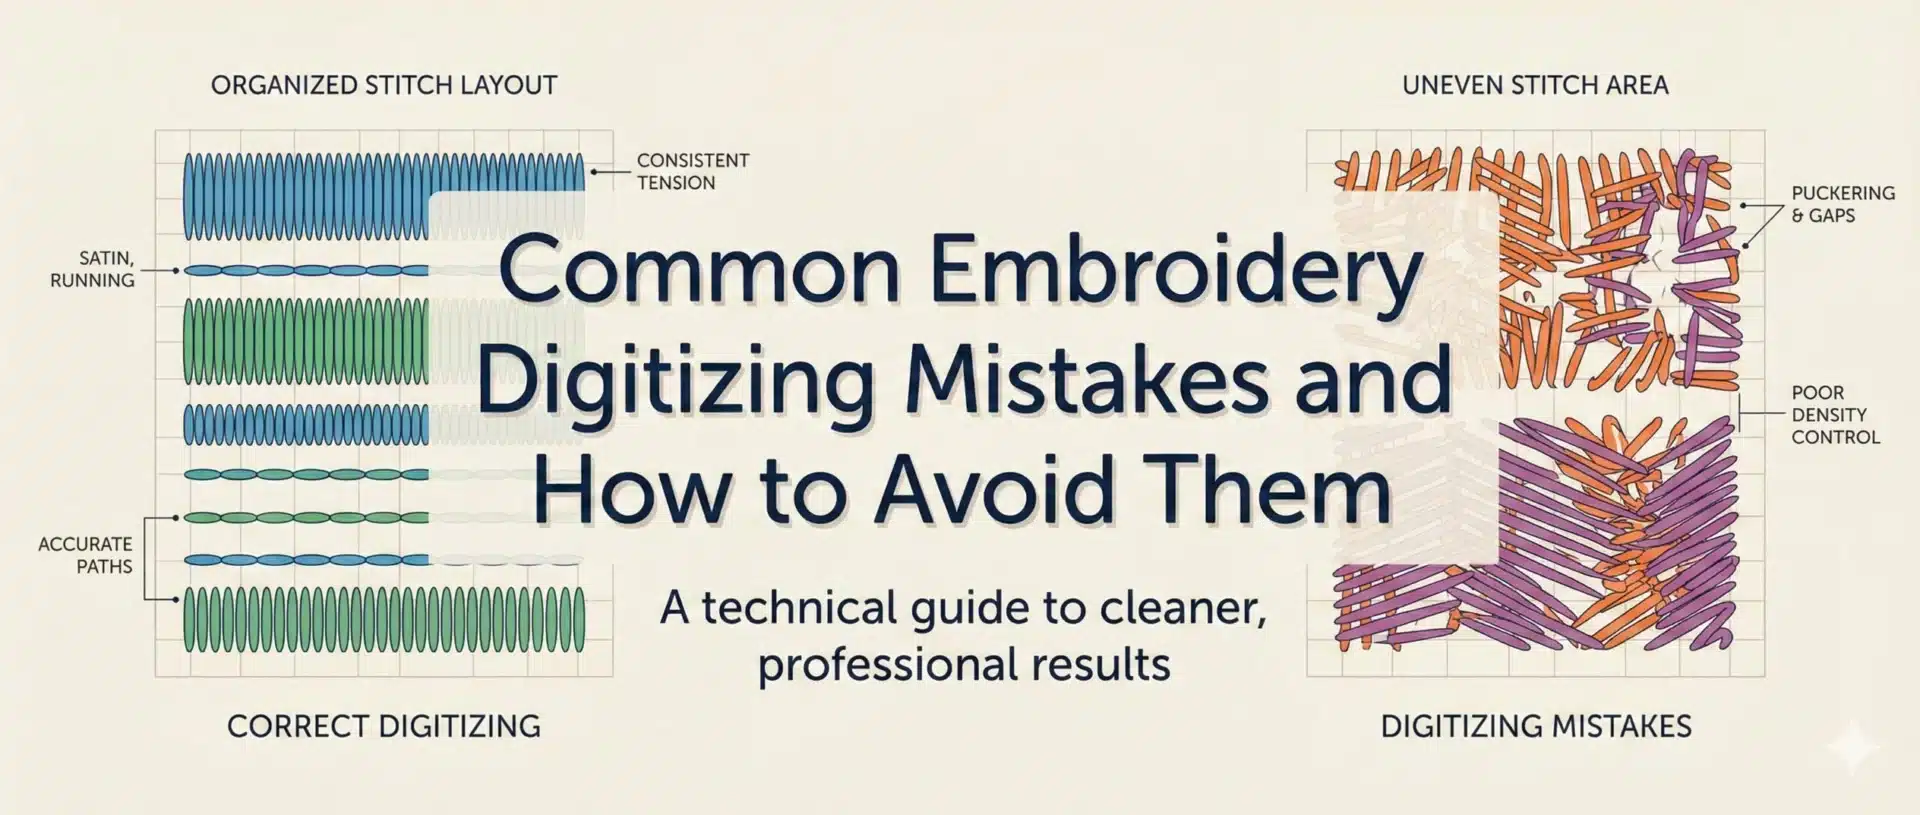
Many embroidery problems are not caused by machines, threads, or operators—they originate from mistakes made during the digitizing stage. Even small digitizing errors can lead to thread breaks, fabric distortion, poor coverage, and inconsistent results during production.
For embroidery businesses, clothing brands, and production units, understanding common digitizing mistakes helps prevent unnecessary revisions, material waste, and production delays. This blog explains the most frequent embroidery digitizing mistakes and how professional manual digitizing avoids them.
Why Digitizing Mistakes Cause Production Problems ?
Digitizing controls how embroidery behaves on fabric.
Stitch Planning Directly Affects Embroidery Performance
Incorrect stitch direction, density, or sequencing creates tension issues during embroidery. These issues often appear only when production starts, causing repeated machine stops and quality failures.
Avoiding digitizing mistakes is essential for stable embroidery output.

Visual Appearance Is Not the Same as Production Quality
A design may look fine on screen but fail during stitching. Digitizing must account for fabric behavior, thread tension, and needle movement—not just appearance.
Ignoring production behavior leads to embroidery failure.
Mistake 1 – Incorrect Stitch Density
Density is one of the most common digitizing errors.
Overly Dense Stitching
Excessive stitch density makes embroidery stiff and increases thread tension. This often causes thread breaks, needle wear, and fabric damage.
High density does not improve quality—it creates production risk.
Too Little Density
Insufficient density leads to poor coverage and visible fabric through stitches. Logos and text may look thin or incomplete.
Balanced density is key to clean embroidery.

Mistake 2 – Poor Underlay Planning
Underlay is the foundation of embroidery.
Missing or Weak Underlay
Without proper underlay, top stitches sink into fabric and lose shape. This results in uneven surfaces and distorted designs.
Underlay must be planned, not automated.
Using the Same Underlay for Every Fabric
Different fabrics require different underlay strategies. Applying the same underlay settings to all materials leads to inconsistent results.
Fabric-specific underlay improves stability and durability.

Mistake 3 – Ignoring Fabric Behavior
Fabric plays a major role in embroidery performance.
Treating All Fabrics the Same
Cotton, polyester, and stretch fabrics react differently to stitches. Ignoring these differences causes puckering, distortion, or pull compensation issues.
Professional digitizing adapts stitch structure based on fabric type.
Lack of Pull Compensation
Fabric naturally pulls inward during stitching. Without pull compensation, shapes may appear smaller or uneven after embroidery.
This mistake is common in rushed digitizing.

Mistake 4 – Poor Stitch Direction and Sequencing
Stitch flow affects both appearance and machine performance.
Random or Inconsistent Stitch Direction
Inconsistent stitch angles create uneven texture and light reflection. This is especially noticeable in large fill areas and logos.
Planned stitch direction improves visual consistency.
Inefficient Stitch Sequencing
Poor sequencing causes excessive trims, jump stitches, and thread changes. This slows production and increases machine wear.
Efficient sequencing improves embroidery flow.

Mistake 5 – Relying on Automated Digitizing
Automation cannot replace stitch engineering.
Generic Stitch Structures
Automated digitizing often applies generic stitch settings without considering fabric, size, or production conditions.
This leads to unstable embroidery files.
Limited Editing Flexibility
Files created through automation are harder to correct when issues appear. Manual digitizing allows targeted adjustments and better control.
Professional digitizing requires human expertise.
How Professional Digitizing Avoids These Mistakes ?
Quality digitizing follows a structured approach.
Manual Stitch Engineering
Professional digitizers plan stitch direction, density, underlay, and sequencing intentionally. Each design is treated individually.
This prevents common digitizing errors.
Testing and Quality Review
Testing reveals issues before full production. Adjustments based on test results improve embroidery reliability.
Testing reduces rework and waste.

Why EmbroiPlanet Focuses on Error-Free Digitizing ?
EmbroiPlanet follows production-focused digitizing standards.
100% Manual Digitizing Workflow
All designs are digitized manually with attention to stitch behavior, fabric response, and production stability.
No automated shortcuts are used.
Designed for Consistent Production Results
Files are created to run smoothly across machines and batches, reducing downtime and quality issues.

You can contact EmbroiPlanet through:
Email – [email protected]
Instagram Direct Message – https://www.instagram.com/embroiplanet
Final Thoughts on Avoiding Digitizing Mistakes
Most embroidery problems can be traced back to avoidable digitizing mistakes. Incorrect density, poor underlay, ignored fabric behavior, and rushed workflows lead to production issues and increased costs.
Professional manual digitizing helps eliminate these risks and ensures stable, high-quality embroidery output. EmbroiPlanet focuses on digitizing solutions that support efficient production and long-term quality.

Why Using the Same Digitized File for Different Garments Can Cause Embroidery Issues ?
What File Formats Are Required for Embroidery Digitizing?